3 Steps To Preserving Kiwi Fruit
Let’s examine how to preserve kiwi fruit.
There are 3 easy ways to preserve kiwi fruit; freezing, making jam, and making chutney. Each method has 3 easy steps that you can follow to preserve your kiwi fruit and keep them around your house for as long as possible.
There are even a few ways to keep them around longer than a few months. These methods will work even after they are out of season. This way you can keep on enjoying them whenever you want.
Freezing Your Kiwi Fruit
There are 3 easy steps to freezing your kiwi fruit. Before you freeze them, make sure the quality of your kiwis is good and that they are fully ripe. This ensures when they are consumed later, they’ll already be in a ready to eat state.

Step 1 – Choose the way you would like your kiwi fruit cut. There are several ways that you can cut your kiwi fruit to freeze it. You can slice it, crush it, quarter it or even freeze them whole.
If you are unsure how you want your kiwi cut, take a moment to think about what you will be using them for once you eventually take it out of the freezer.
Determine how you will be using the kiwi. For smoothies, cocktails or a punch, eating it as is or baking with it? Once you have decided on what you will be using your kiwi fruit for, cut the kiwi into the appropriate shapes or sizes that will work best for that purpose.
Step 2 – Lay out the chopped kiwi fruit evenly in a zip lock freezer bag and pack it as tightly as you possibly can without it being over full. You’ll need to close the seal on the zip lock without squashing any of the fruit, so keep that in mind when packing it.
Make sure the bag you use is a freezer bag. They’re more durable and seal better than regular bags.
Step 3 – Try finding a flat surface in your freezer to lay your zip lock bag on. The more spread out you keep the fruit when freezing them, the easier it will be to separate them after they are frozen. Layout the zip lock bag, or bags of kiwi fruit in the freezer, until you’re ready to use them.
Prior to freezing, do not store kiwifruit near other ethylene producing fruits (apples, avocados, bananas, pears, tomatoes) which can trigger further ripening ((California Department of Education: Kiwi Fruit)).
When you have just too much kiwi, freezing is a good option. In addition, for many more ideas you can check out my blog post, This Is What You Can Do With Lots Of Kiwis.
Disclaimer: Some of links in this article are affiliate links which means I may earn a small commission at no extra cost to you. As an Amazon associate I earn from qualifying purchases.
Making Kiwi Fruit Jam
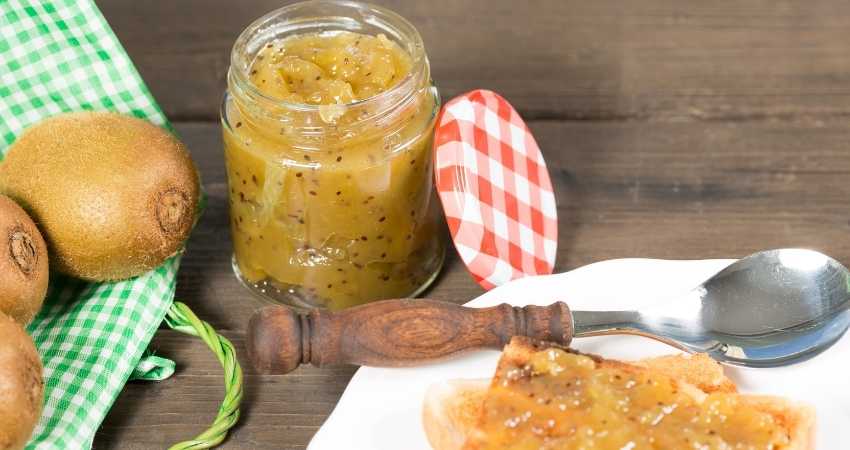
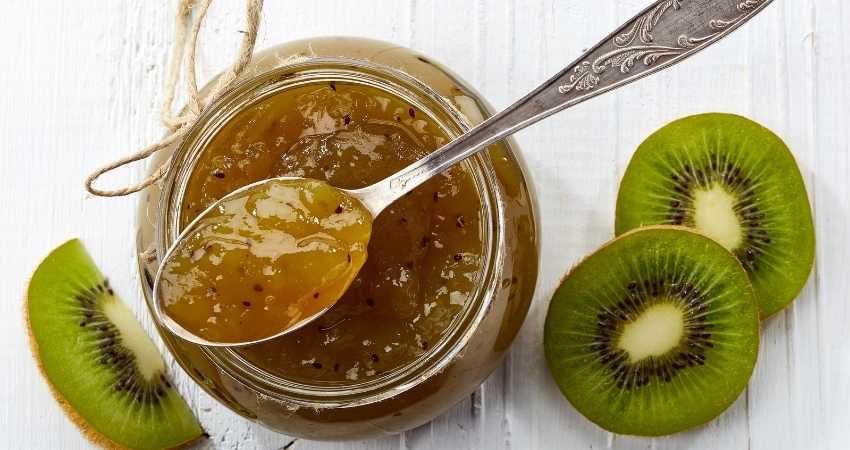
There are 3 easy steps to making a kiwi fruit jam. Making a fruit jam is a wonderful and tasty way of preserving your kiwi fruit in a way that you can enjoy it daily for months.
Step 1 – Sterilize your jam jars. If you don’t have jam jars, there are plenty on Amazon for a decent price. You can check them out by clicking here, jam jars.
To sterilize the jars, you will need to first wash each jar thoroughly with water and soap. Next, place the jars in a pot of water and bring the water to a boil. Once the water is boiling, leave them in the boiling water for at least 10 minutes.
You can then carefully remove the jars from the boiling water and allow them to dry upside down on a clean surface.
Once they are completely dry, the jars are ready to be used. Put them in the oven and keep them on a very low heat until you pour your jam in. This will prevent them from breaking when filled with the boiling hot liquid later.
Step 2 – Making the jam. Use a large pot to combine 4 peeled and thinly sliced kiwis, 3 cups of sugar, 3/4 cup of pineapple juice, 1/4 cup of lemon or lime juice.
Stir the ingredients until all of the sugar has dissolved. Next, bring it to a boil and carefully continue to stir it so. This way it doesn’t become too hot and stick to the bottom of the pan and burn.
Remove the pot from the heat and stir in 1 pouch of liquid pectin. Then return the pot to the burner and boil for 1 minute, continuing to stir the whole time1.

Step 3 – Pour the jam into the sterilized jars. Carefully pour the hot jam into the sterilized jars you’ve been keeping warm in the oven.
Make sure to leave a ½ inch of space at the top of the jar. Set the jars aside to cool. Once they are fully cooled down to room temperature, put them aside in the pantry or fridge and open them as needed.
By the way, have you ever wondered what you can do with the skin, if anything? Check out my blog post, Can You eat the Whole Kiwi?
Making A Kiwi Chutney
The third and final way you can preserve kiwi fruit is by turning them into a homemade chutney. A good chutney is a staple in some households.
For those of you who may not know what it is, chutney is a relish-like sauce originating in India. Typically, it contains fruits, vegetables, herbs and spices. The finished product has a sweet and spicy flavor. You can use it on curries, in dips, as a dip on its own, on a sandwich, with lamb or game meats, a glaze and so much more.
Having a good, fresh, homemade chutney from a fruit you love will be a great bonus to your fridge and table.

There are 3 easy steps to making a kiwi fruit chutney:
Step 1 – Once again, the first step to homemade kiwi fruit chutney is to sterilize your jars. To sterilize your jars, you will need to wash each jar thoroughly with water and soap.
Next, place your jars in a pot of water and bring it to a boil. Once the water is boiling, leave the jars in the boiling water for at least 10 minutes. Then carefully remove the jars from the boiling water and allow them to dry upside down on a clean surface.
Once they are completely dry, your jars are ready to be used. Put them in your oven and keep them on a low heat until you pour your jam in. This will prevent them from breaking when filled with the boiling hot liquid later.
Step 2 – In a large pot, combine the following:
- 6 cups of peeled and chopped kiwi fruit.
- 3 Granny Smith Apples. They must be peeled, cored and chopped.
- 1 ½ cups chopped onion.
- 1 ½ cups of apple cider vinegar.
- 1 ½ cups of raw sugar.
- ¾ cups of brown sugar, lightly packed.
- 1 cup golden raisins.
- 4 garlic cloves, chopped fine.
- 1 tsp ginger root, peeled and chopped.
On medium-high heat, bring this mixture to a boil while making sure to stir it constantly so it doesn’t stick to the bottom of the pan or burn. Turn the heat down and allow it to gently boil for about 30 minutes, still stirring frequently.
Next, add the following:
- 1 ½ tsp ground cinnamon
- 1 tsp mustard seeds
- ½ tsp cayenne pepper
- ½ tsp ground cloves
- ½ tsp ground allspice
- ¼ tsp sea salt
- ¼ tsp black pepper
Continue letting the mixture gently boil for 10 minutes, still stirring frequently.
Step 3 – Next, ladle the hot chutney into the warm, sterilized jars, making sure to leave ½ inch space at the top of the jar ((Oregon State University: Preserving Kiwifruit)). Set aside the jars and allow them to cool down.
Once the chutney jars are completely cooled down, set them aside in your pantry or fridge until you are ready to use them.
If you have any questions to ask me about this article don’t hesitate to comment below or email us. You can find an email on our contact page.
Read Next – More Food Storage
4 Ways To Tell If A Papaya Has Ripened
Will Strawberries Ripen On The Counter?
The Complete Guide To Freezing Papaya
- Oregon State University: Preserving Kiwifruit [↩]
